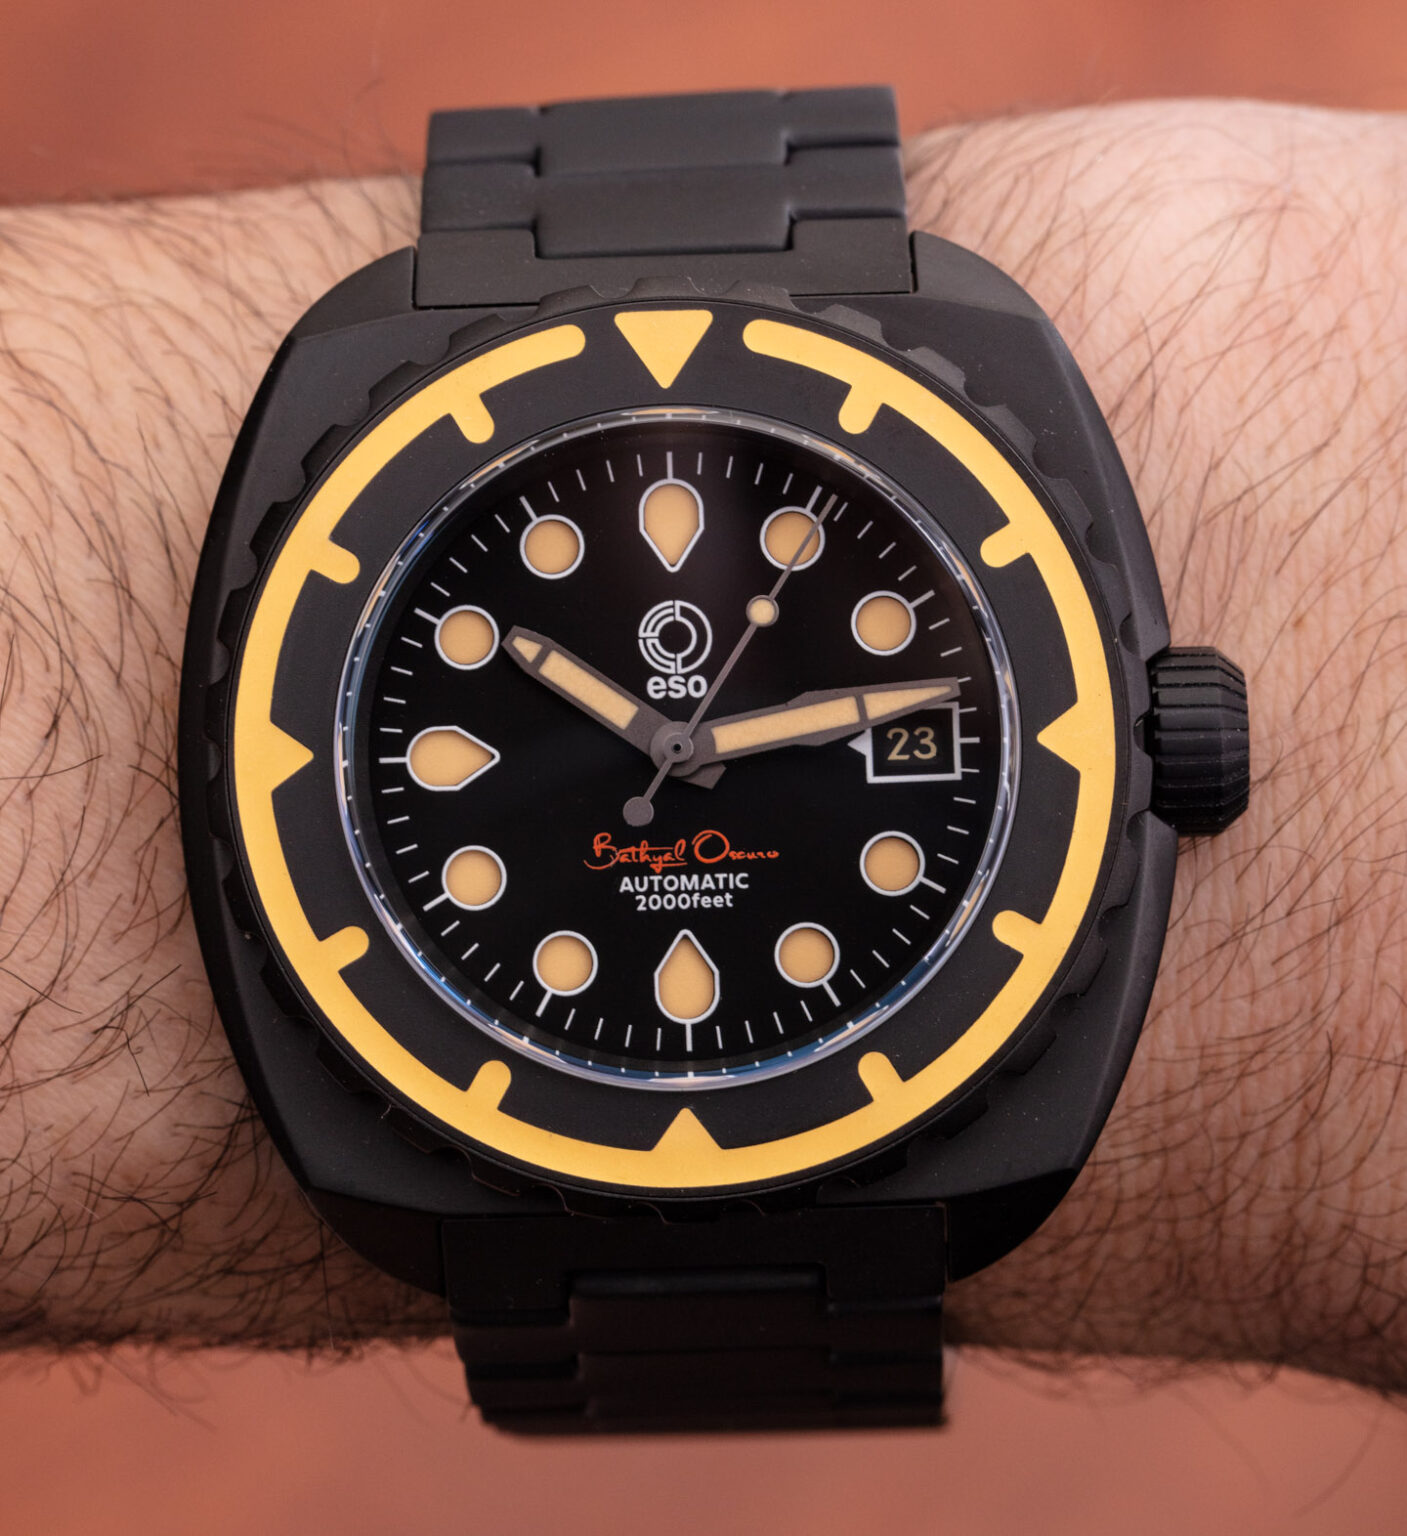
Credit:Bathyal Oscuro
It’s easy! Find an image of the watch that is not angled if possible.
Open the image in your editing program and crop it in a circle shape, then resize it to 400 x 400. Save the image in .png format. Using WFD (WatchFaceDesigner), create an image layer and use your .png image as the selected file.
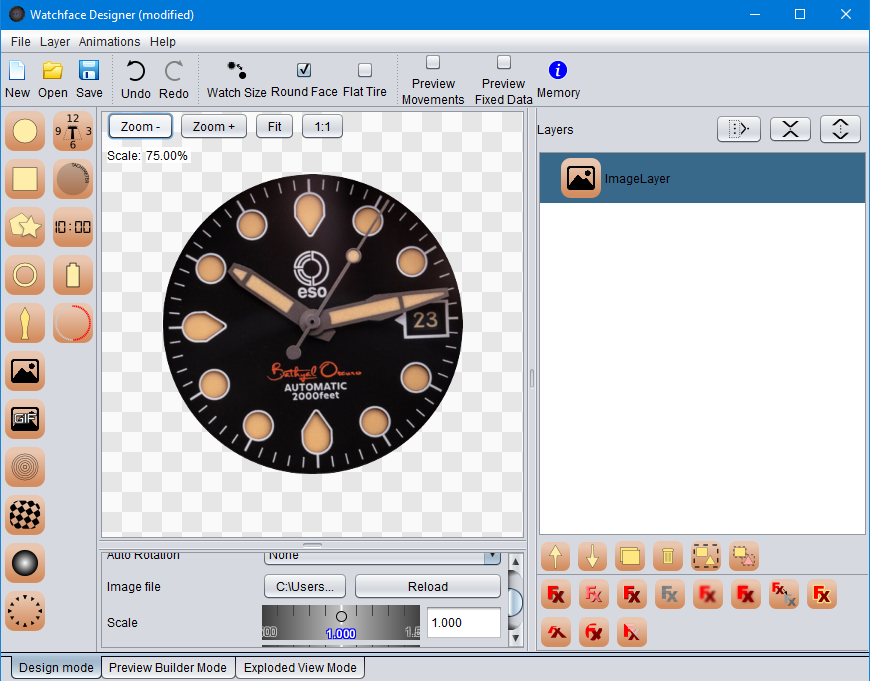
Rotate and center the image so the hand you want to draw is at 12 o’clock position. I use a small circle at x=200 and y=200 to help center the image.
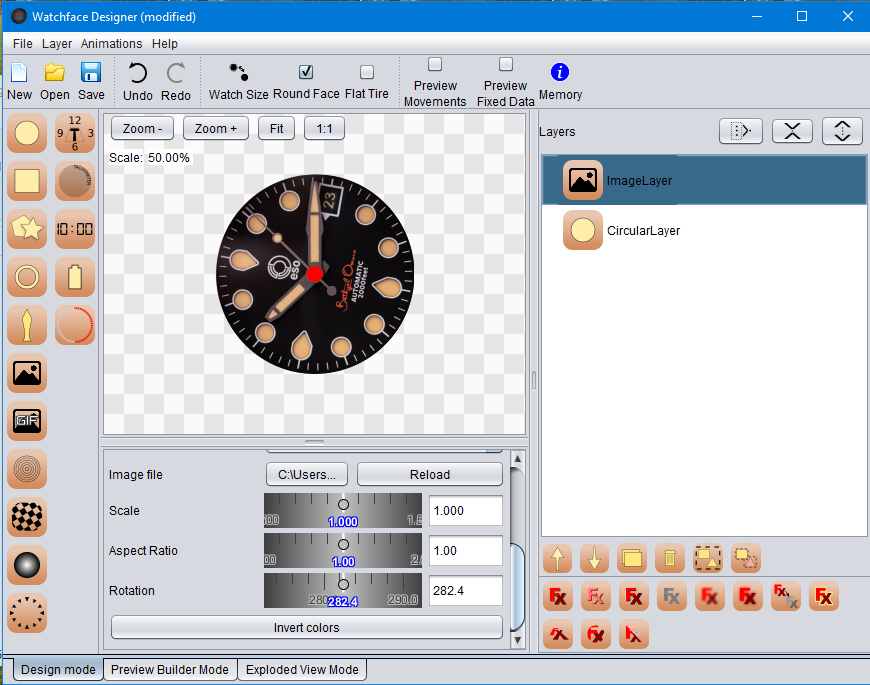
Create a hand layer and draw over the image. Source the colors of the hand using the eyedropper from the template. This hand requires a few sections. Start with number of sections=1 first to draw the point.
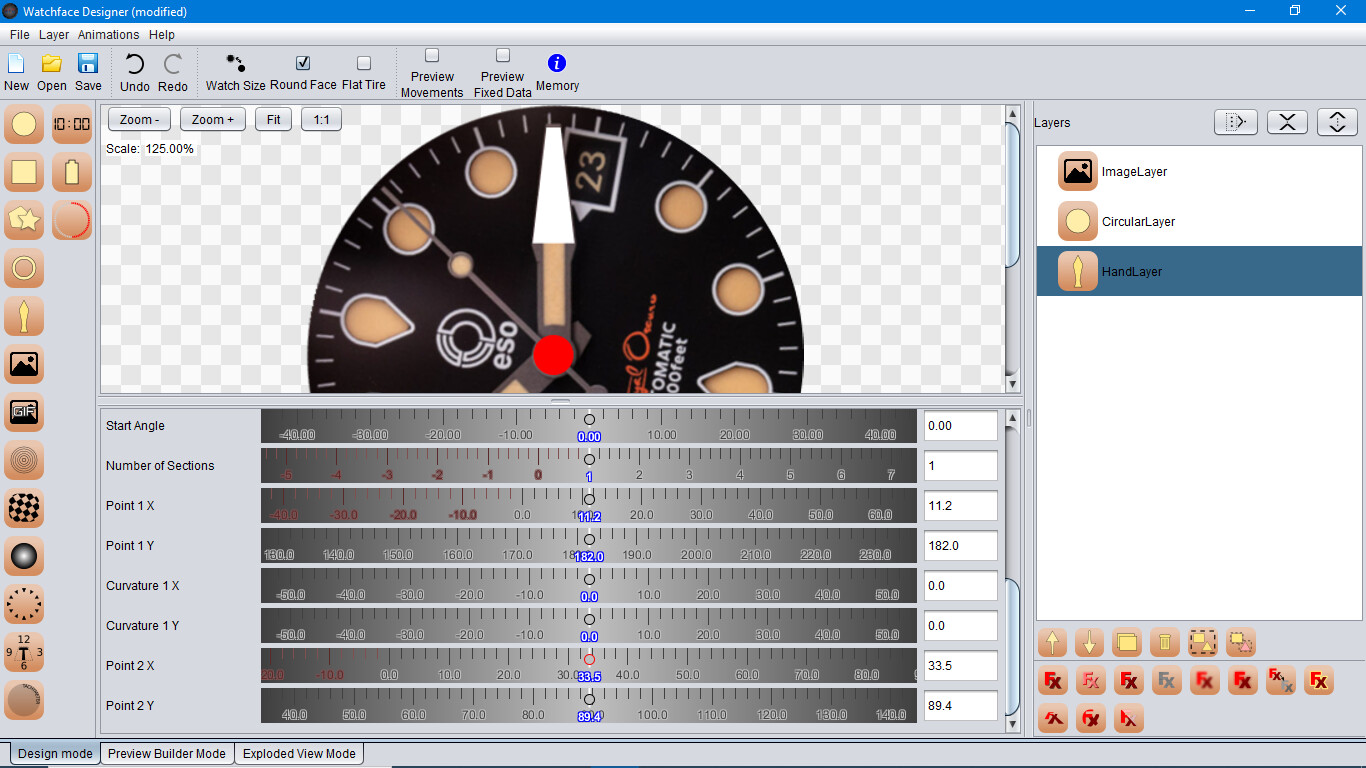
Now change number of sections to =2 and using point 3x and 3y, draw the next section.

Continue adding sections until the hand is completed. You can use your centering circle as part of the hand now.
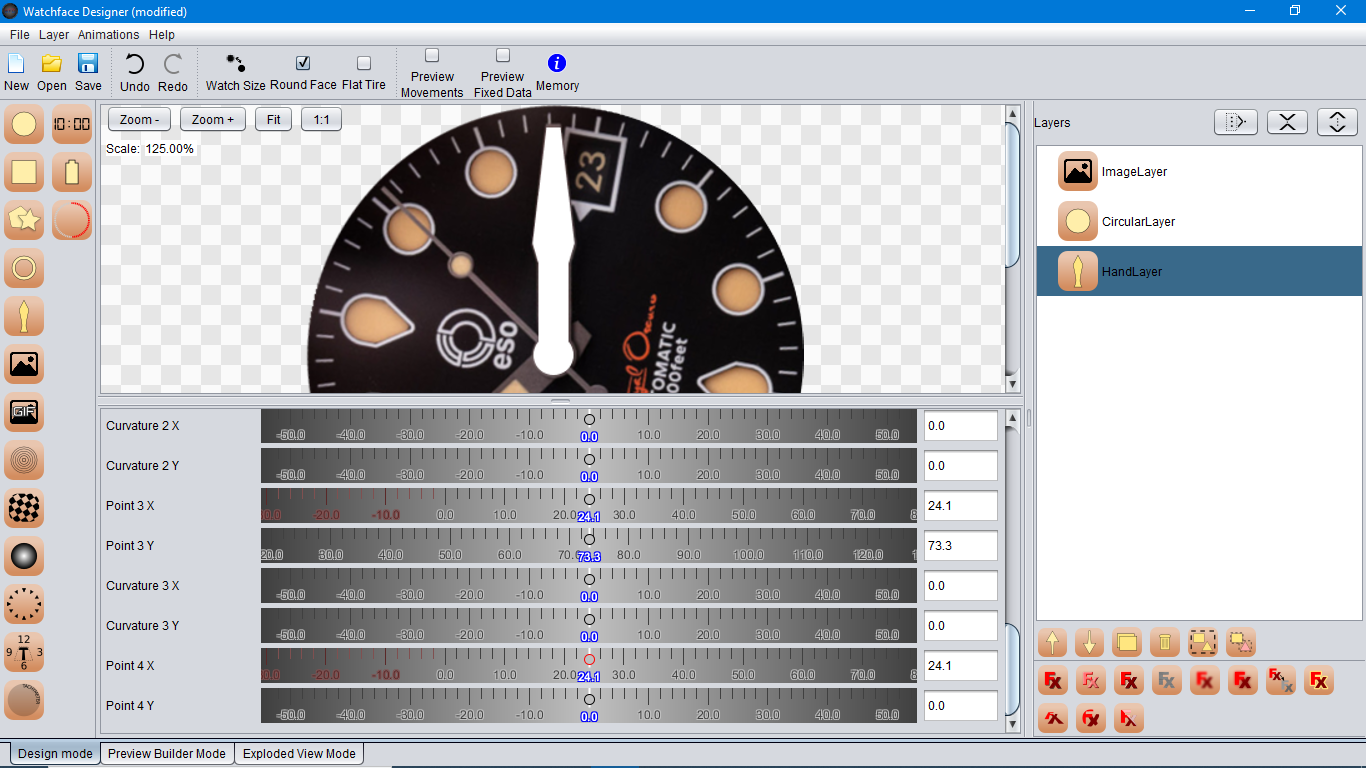
Change the color with the eyedropper for an exact match.
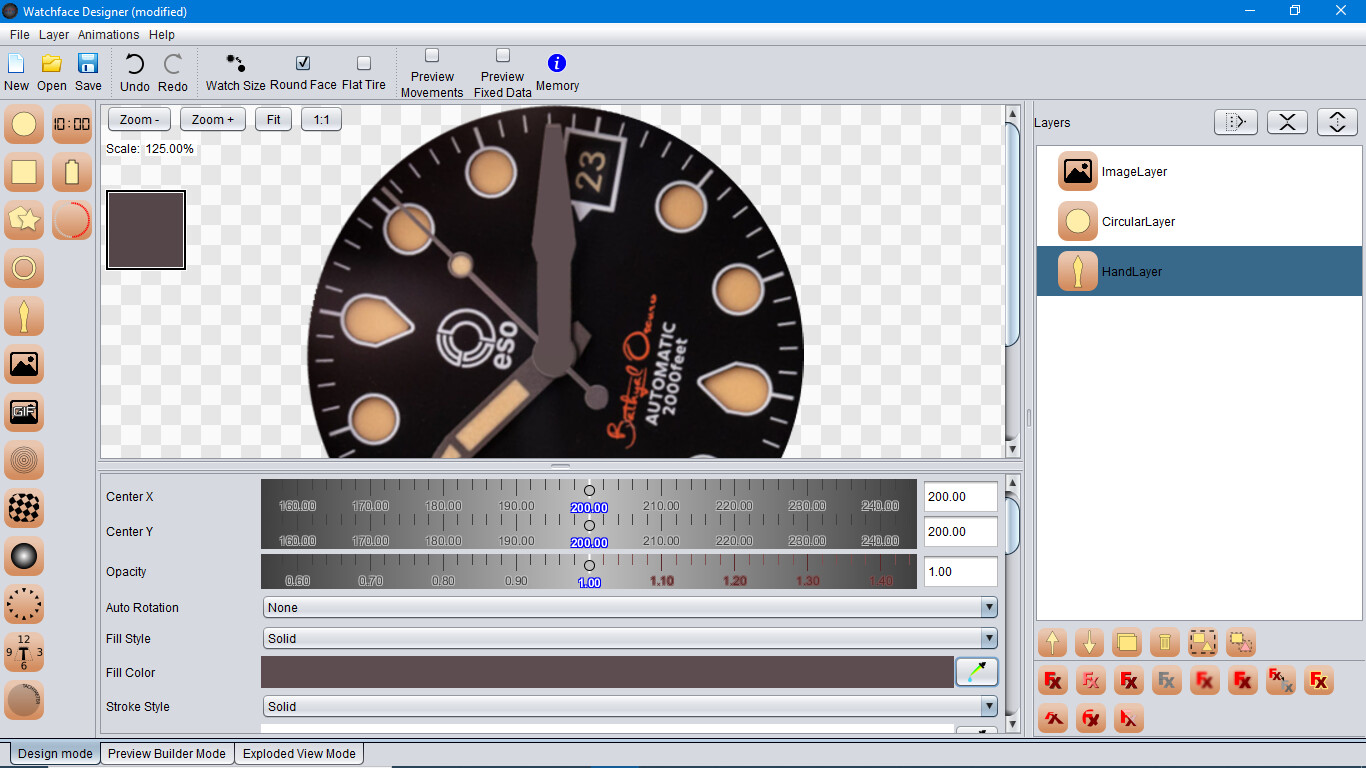
Sometimes I use tick layers for the inner portions of the hands like this.

Sometimes I use the stroke width. It depends on the hand. If the hand has no center part, I just use the stroke width and set the fill style to none. Some hands require that you use a couple of separate hand layers.
So next, disable the template and save the hand as an image.
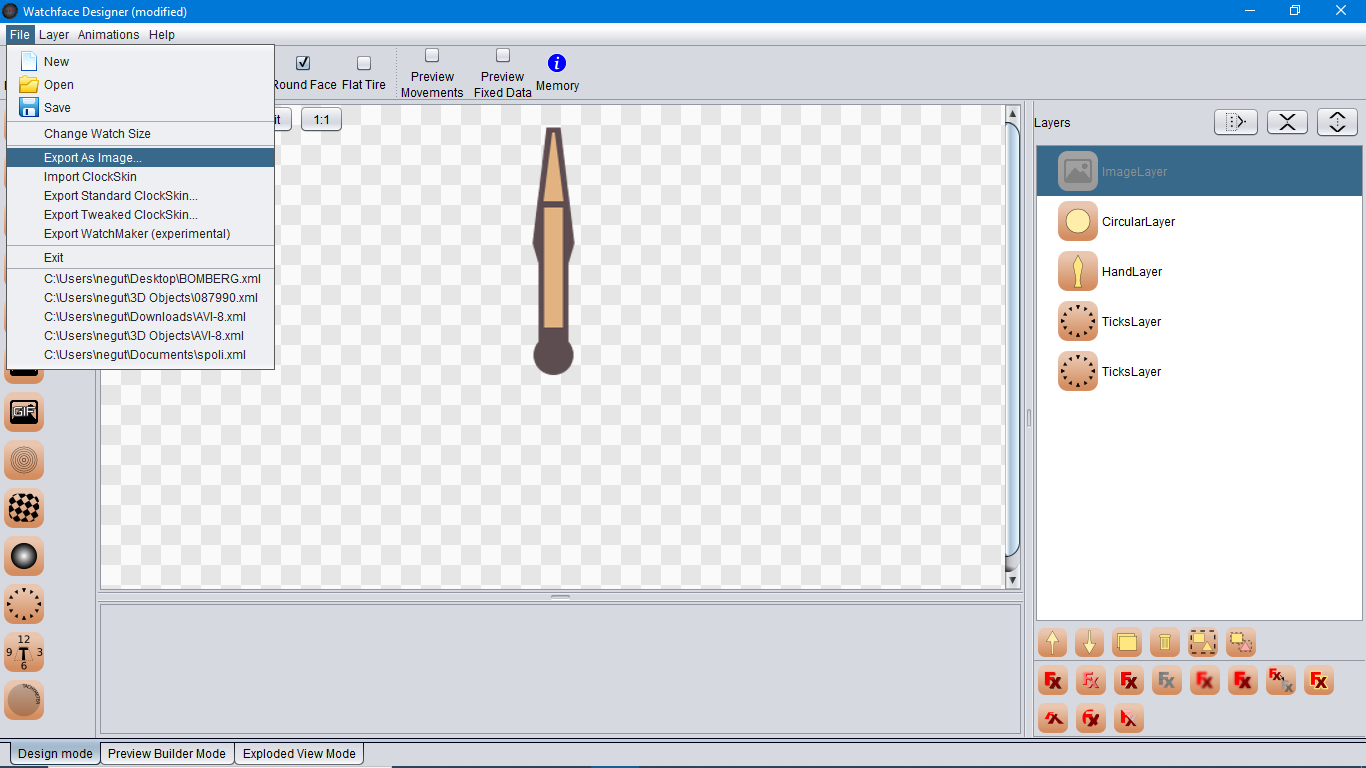
Start a new session of WFD and create an image layer using the image you just saved.
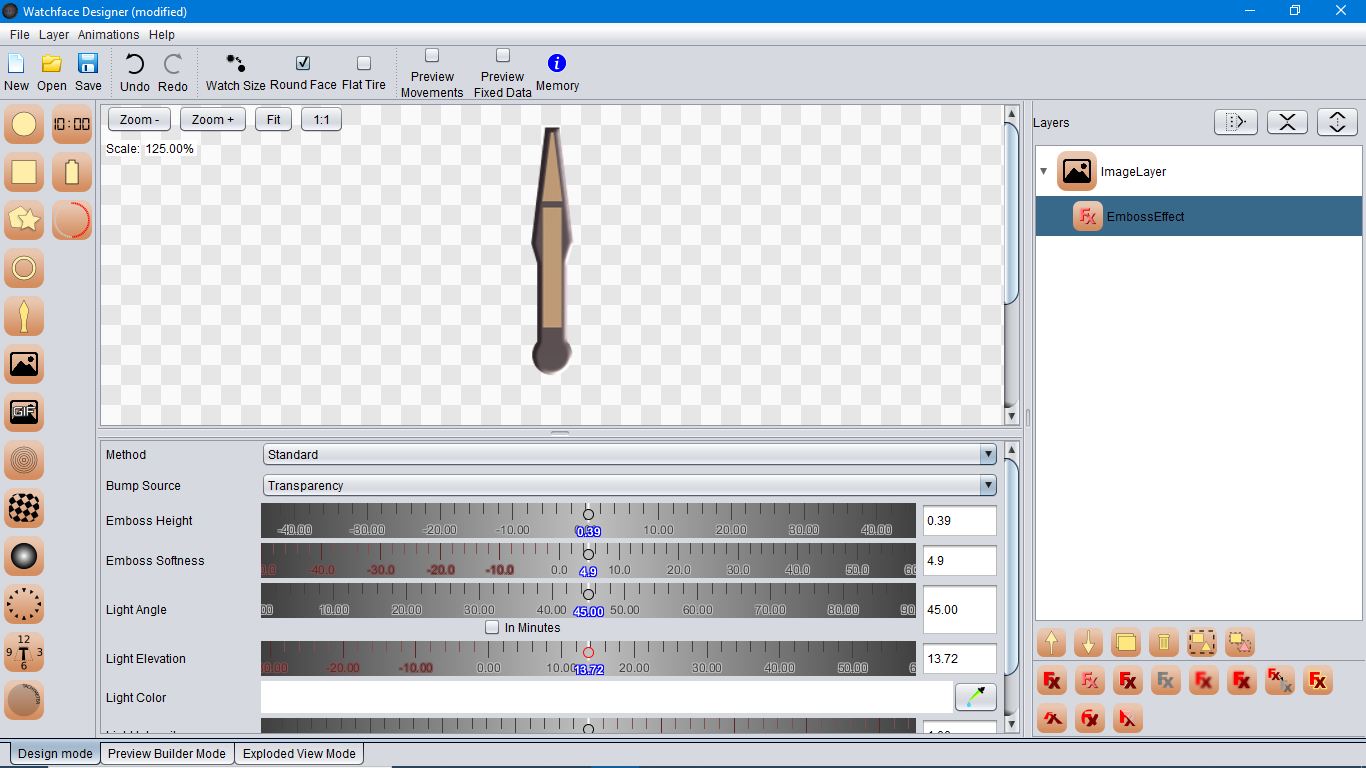
You could stop at this point and set auto rotation values to this image, but how about some 3D goodness now. How about some embossing? Use LOW number values for height and softness. Use just enough softness to eliminate any ragged edges. Increase the light elevation if the image is too dark after embossing.
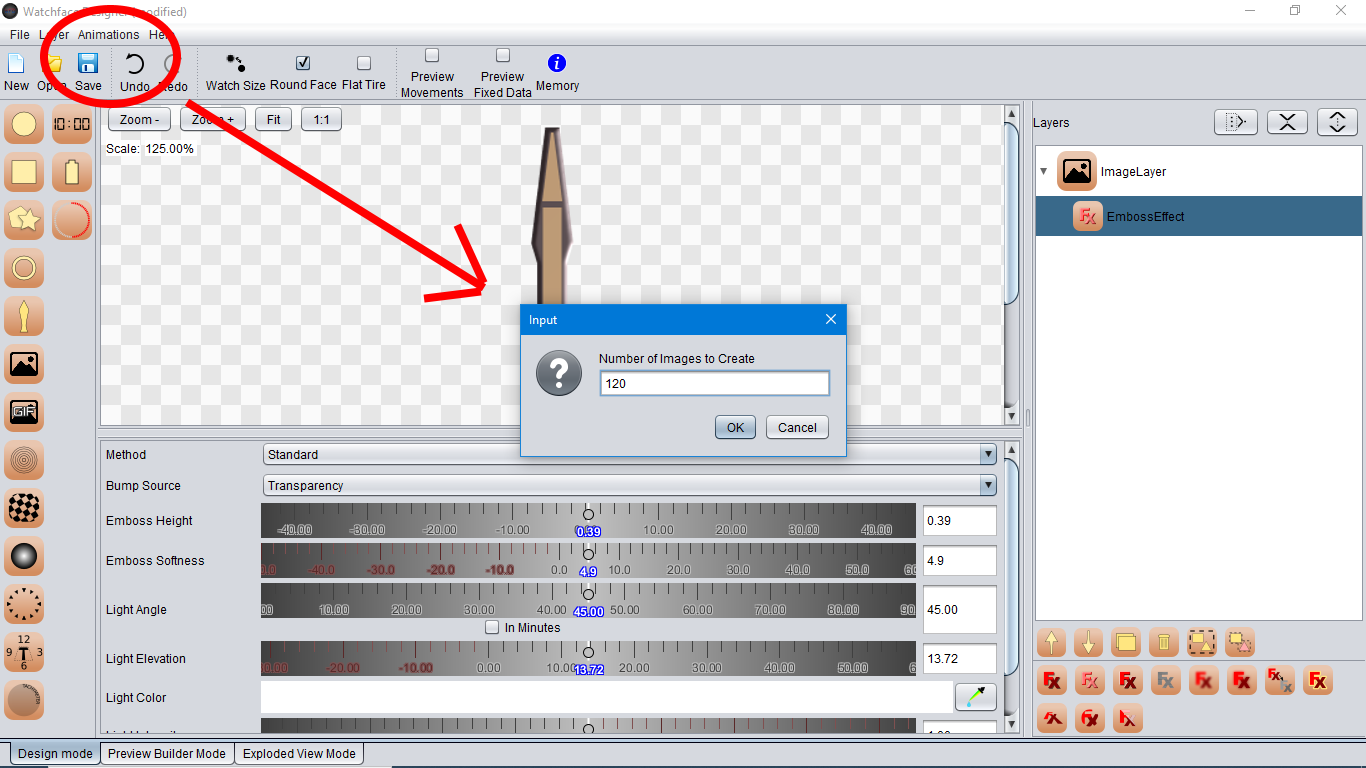
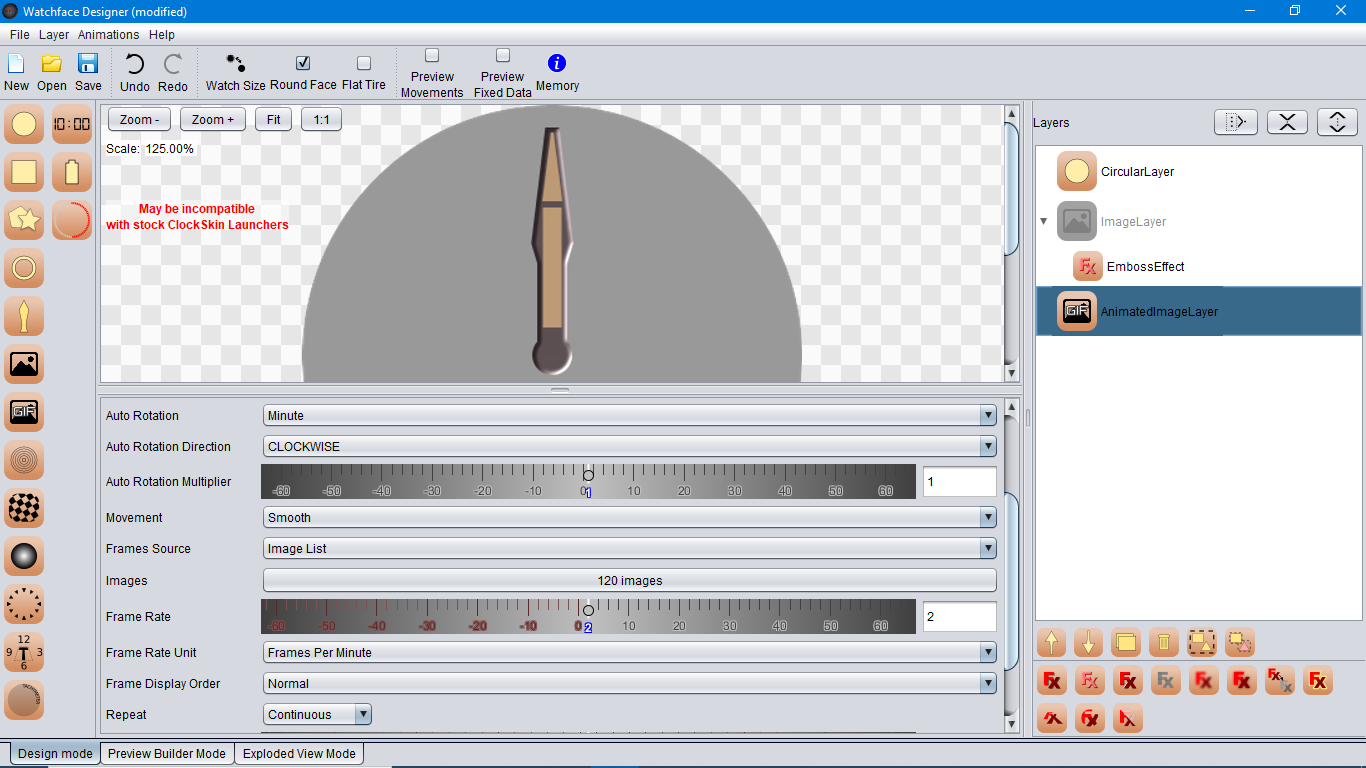
Again, at this point you could just autorotate the image, but the highlight on the hand will always be on the same side. Make a GIF animation layer by changing the light angle. I routinely make 120 images for hour, minute, and second hands.
Universal Launcher MUST now be used on the watch after making the GIF. For now, disable the image layer. Next, set autorotation to MINUTE and the GIF framerate to 2 images per minute (2 images per minute X 60 minutes per hour = 120 images). Hour hand framerate is 10 per hour and second hand framerate is 2 per second.
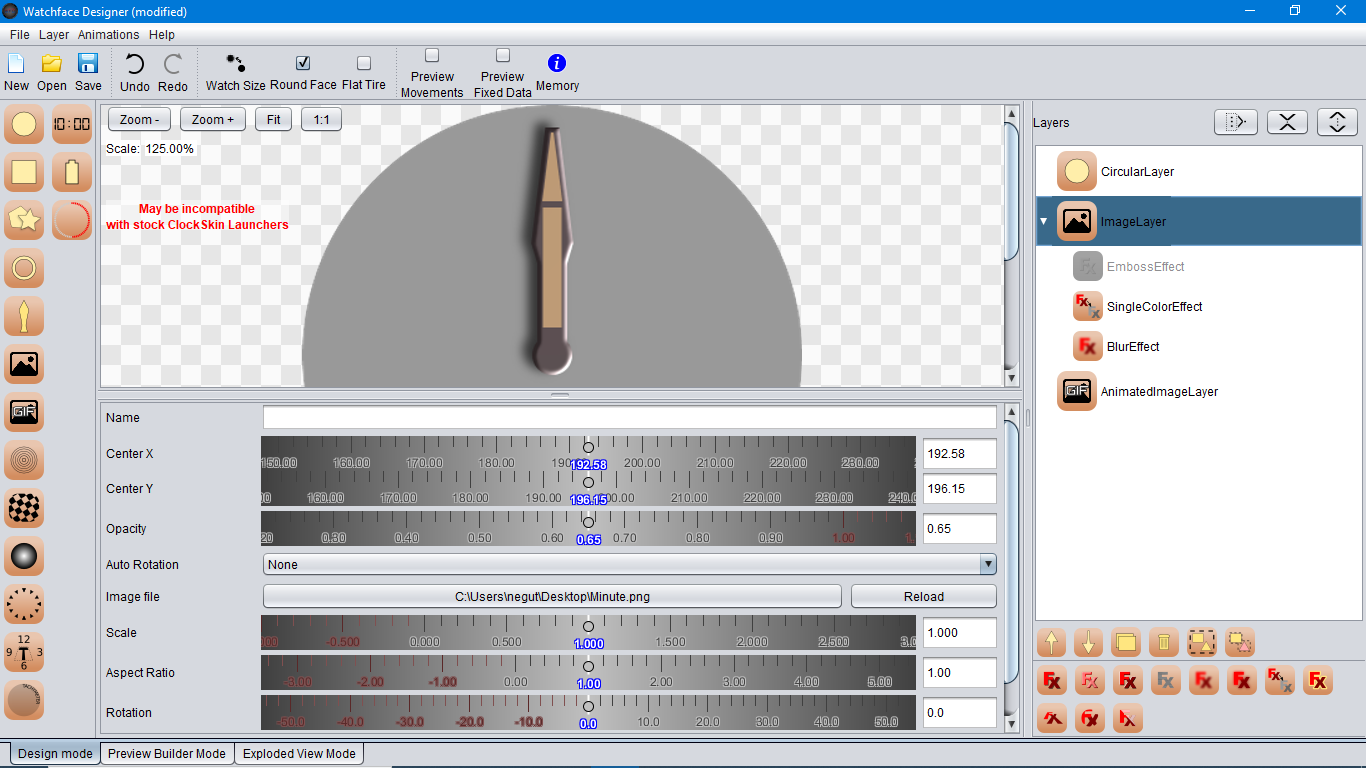
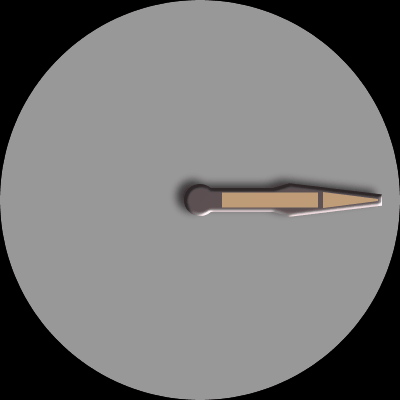
Wait! What about the shadow? Re-enable the original image layer and set opacity down to 60 or 70, disable the emboss effect, use colorize effect and make the image black (UNCHECK “USE BRIGHTNESS” ON THE RECOLOR EFFECT!). Now add a blur effect and reposition the shadow slightly using Center X and Center Y to make the shadow opposite the highlight on the hand. I used a blur value of 12 on this one and added a gray circle background so you can see the hand and shadow better. Don’t forget to autorotate the shadow!

 .
.